CapCut offers various features, including the ability to add a blur effect, Velocity edit, and much more to your photos and videos. This blur effect can be used to conceal parts of the video or draw focus to a particular element. Furthermore, you can customize this tool to blur specific parts of the video, which can create a dramatic and visually appealing result.
In this guide, we’ll explain you how to blur photos/videos background on Capcut. So, let’s begin.
How to Blur Video Background on Capcut?
To blur your video on Capcut, just follow the below steps.
1. Launch CapCut App
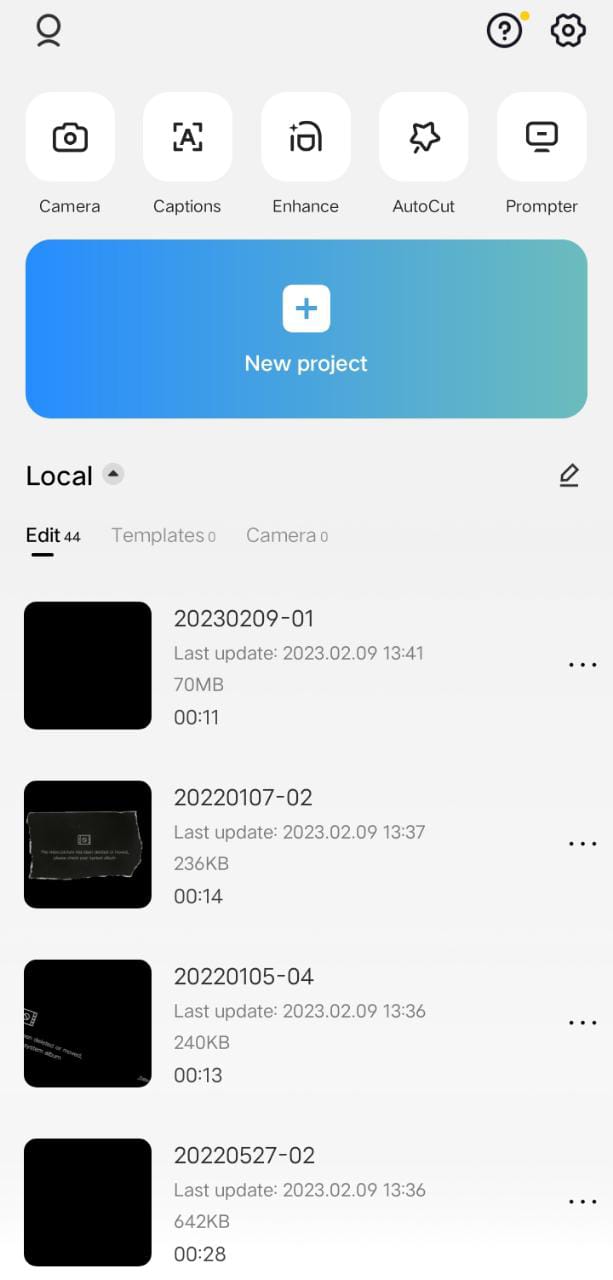
To begin, open CapCut on your Android or iOS device. If you don’t already have installed the latest version of Capcut 7.6.0, you can easily find it in the Google Play Store or Apple App Store. Once you’re in CapCut, click the “New Project” button to start a new video editing project.
2. Tap on Effects
After importing the video, tap on “Effects” > “Video Effects“.

3. Tap on Basic
Tap on Basic and click on the Blur effect. After clicking the effect, drag it until the end of the video. Furthermore, you can adjust the effect by tapping on the Adjust button located at the bottom left corner.

4. Tap on the Overlay Button
Tapping on the Overlay button, click on the “Add overlay” button and this will open your photo gallery. You have to import the same video one more time.

5. Tap on Cutout Button
After importing the same video, scroll down until you see a “Cutout” button.

Tap on it & hit the “Remove Background” option. You have to wait a couple of seconds until the app removes the background from your video.

Once you have completed the previous step, zoom in on the video and make it slightly larger than the original to enhance its visual impact.
6. Export the Video
After completing all the steps, you can export your video to your photo gallery.