Have you ever seen velocity edit in TikTok dancing videos & Instagram reels on your phone & wanted to make it? Don’t worry, you can easily do smooth velocity edits on your phone on the Capcut video editing app by reading this guide.
Velocity Editing is a popular video editing technique that allows you to change the speed of a video at specific points. This technique is often used to create the latest trend on TikTok & Instagram reels, which involves speeding up and slowing down videos.
In this guide, we have explained to you step-by-step how to perform a smooth velocity edit on CapCut, a widely used video editing app for TikTok & Instagram reels.
How to Do Velocity Edit on CapCut: Step-by-step Guide?
To do velocity edit on Capcut, you just need to follow the below steps.
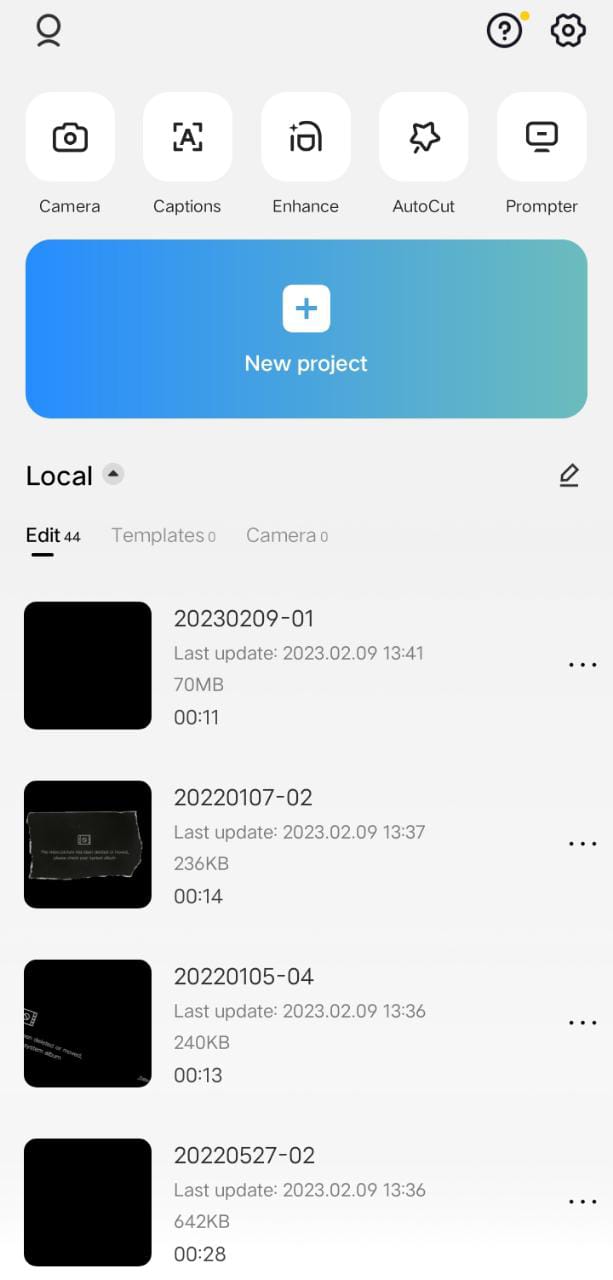
1. Launch CapCut App
To begin, open CapCut on your Android or iOS device. If you don’t already have installed the latest version of Capcut 7.6.0, you can easily find it in the Google Play Store or Apple App Store. Once you’re in CapCut, click the “New Project” button to start a new video editing project.
2. Add Video to CapCut
Then select a video from your camera roll to add to CapCut. Hit the lower-right add to confirm the addition & to make automatic velocity on Capcut.

3. Hit the Edit Button
After adding the video to Capcut, you need to hit the Edit button. This button is located at the bottom left corner of the Capcut.

4. Hit the Style Button
All you need to do is to enter the Style after hitting the Edit button.

5. Go to Scene Swap
After entering the style button, just swipe left and Scene Swap will appear. Hit that button and just below this button a feature Auto Velocity will appear. Hit on Auto Velocity, and that’s it.

6. Export the Video
After using the Auto Velocity feature, now your video becomes a velocity edit video & you can easily export your video according to your likening resolution.